Recently added item(s) ×
You have no items in your shopping basket.
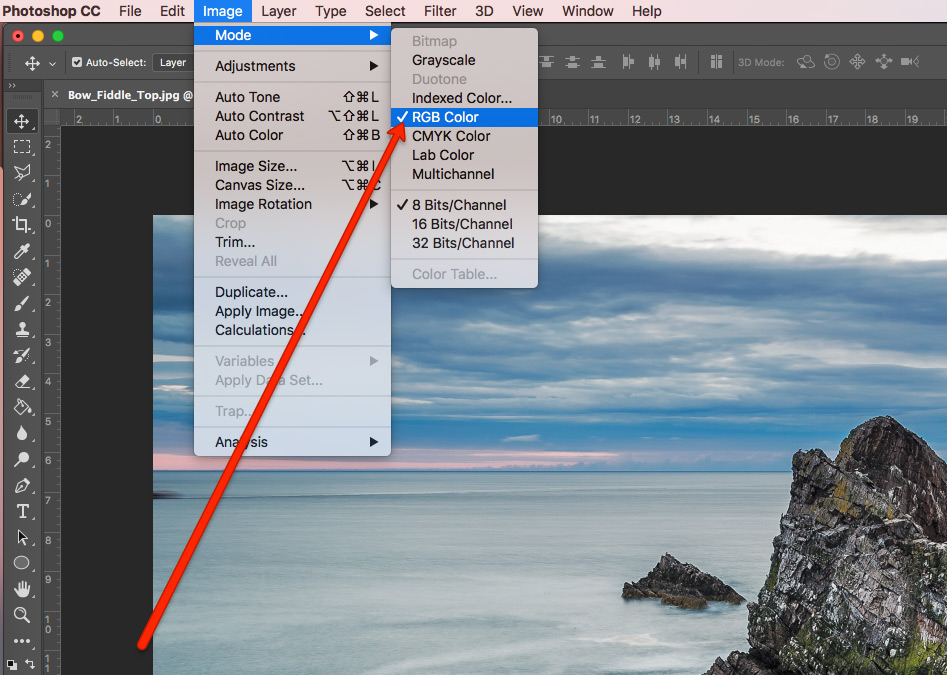
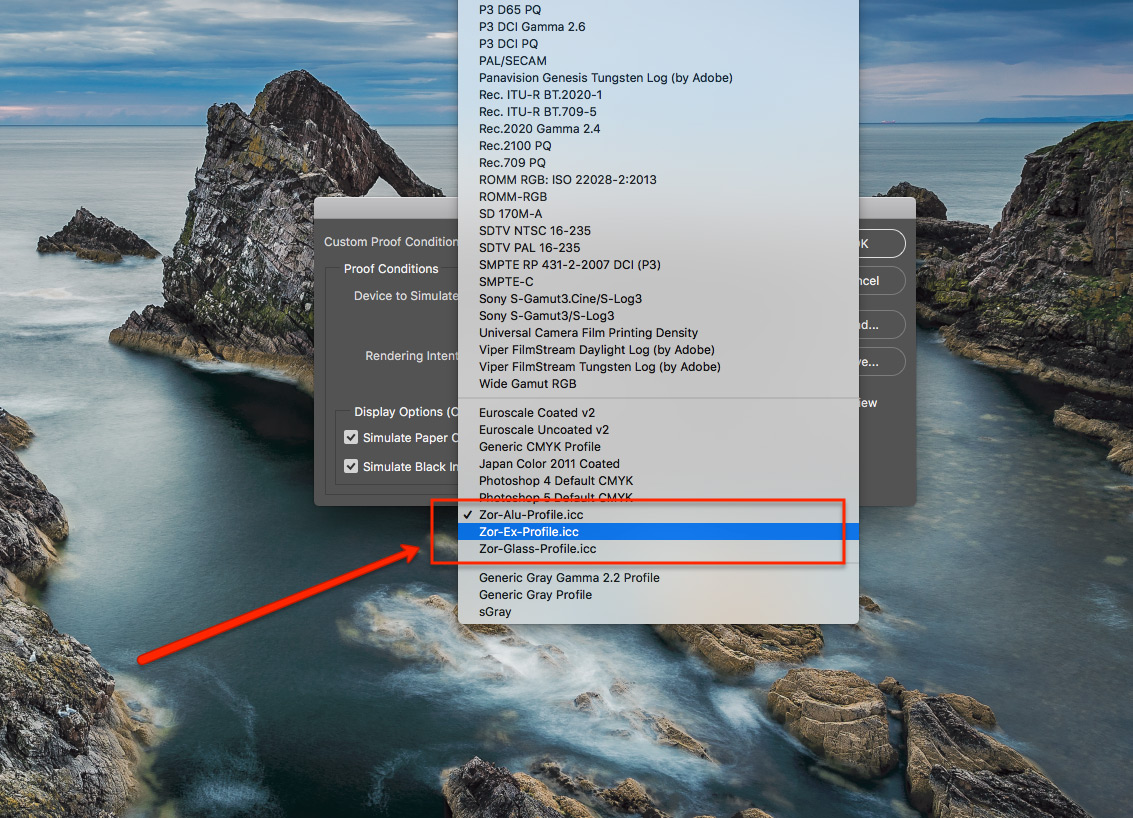
This soft proof tutorial is available only for RGB pictures.
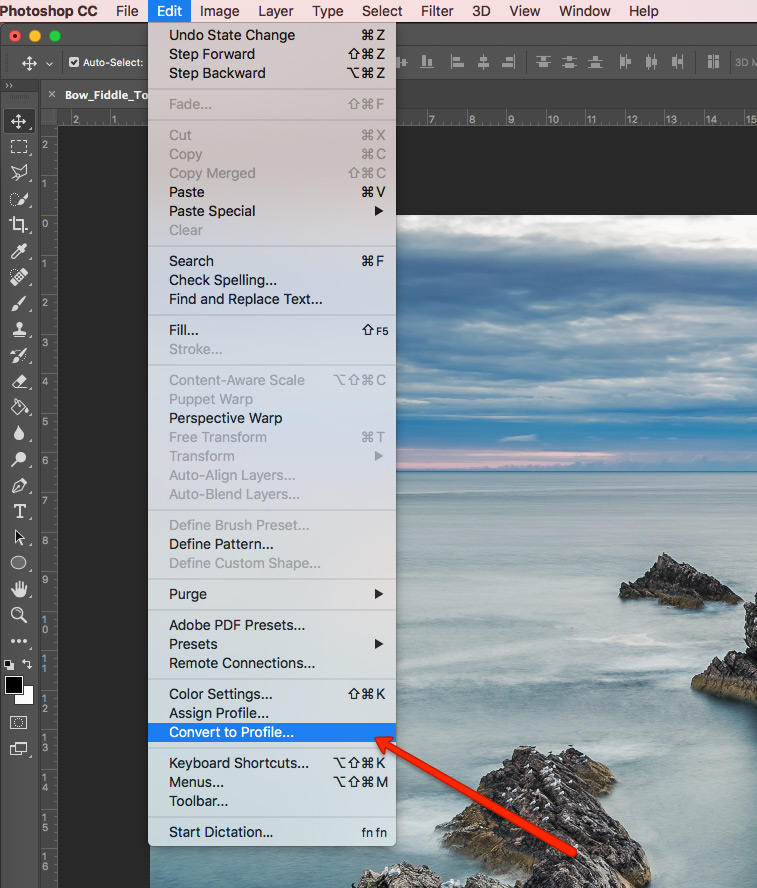
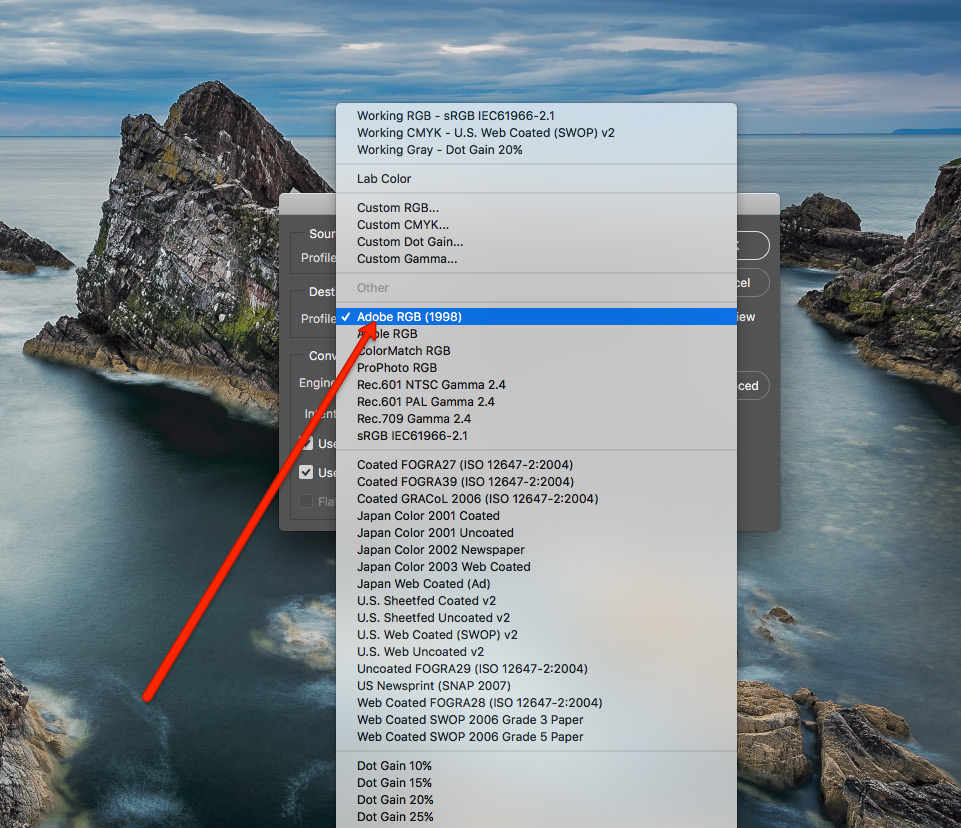
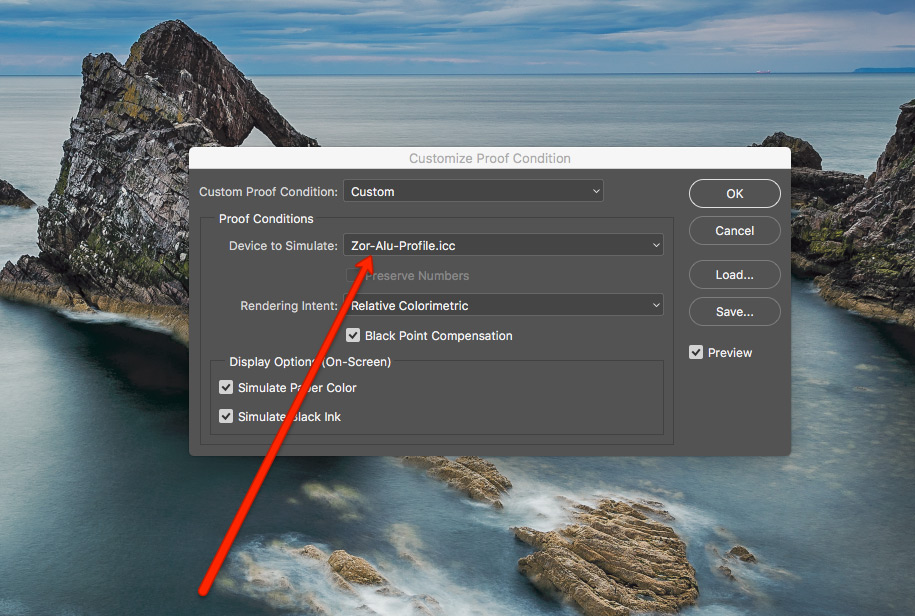
Carefully, follow each step listed below to adjust your photos in Photoshop for the best results by using our ICC profiles.
After you have downloaded the desired profile, you have to import it.
MAC OS X: Copy files to the Folder /Library/ColorSync/Profiles
Windows: Right-click on the file and select "Install Profile"

If you don’t use Lightroom, please check our Lightroom soft proofing tutorial